View or Process a Notification
You can add or change the information in a notification as well as update the status.
- Super-Regulator
- Regulator
- Admin Officer
Admin Officers are limited to working with patient-related (SPT) notification types
In this topic
Access a Notification from the Tasks List
-
From the top navigation menu, click Tasks.
The All Tasks screen displays.
-
Locate the notification that you want to access. To help you do this, you can:
-
Filter by date range. The default range is set to show the tasks created in the last 12 months.
-
Apply additional filters to each column header by clicking the filter icon.
For example, filter the Related Entity column to display only Notifications.
-
To change the sort order, click a column header.
-
-
Click the Patient name to open the patient profile.
The notification for that patient automatically opens.
For next steps, see Process a Notification
Access a Notification from the Notifications List
- Super-Regulator
- Regulator
-
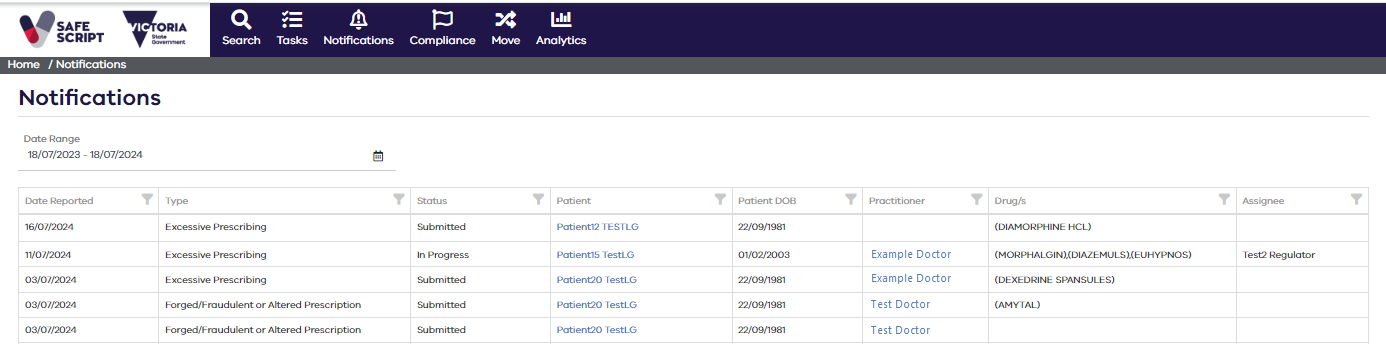
From the navigation menu, click Notifications.
A list of notifications displays.
-
Locate the notification that you want to access. To help you do this, you can:
-
Filter by date range. The default range is set to show the tasks created in the last 12 months.
-
Apply additional filters to each column header by clicking the filter icon.
-
To change the sort order, click a column header.
-
-
For next steps, see Process a Notification
Access a Notification from a Patient, Prescriber, or Organisation Record
-
Search for the relevant Patient, Prescriber, or Organisation, and then open the record.
-
Depending on which record type you have opened, scroll down to and open either the Permits and Notifications or Notifications section.
Any existing notifications will display in the grid.
-
Click the relevant notification to open it.
Admin Officers are limited to working with patient-related (SPT) notification types
For next steps, see Process a Notification
Process a Notification
After accessing the notification using one of the methods above, you can process the notification.
-
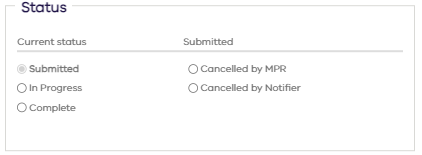
Change the Status, for example from Submitted to In Progress.
-
Make any other changes to the notifications as relevant depending on the information supplied and the type of notification.
-
Expand any collapsed sections to view or add more information:
-
Compliance Activities View or add a Compliance Activity. For more details see Compliance Activities.
-
Correspondence View, create or upload correspondence. For more details, see Correspondence.
-
Notes View or add notes:
-
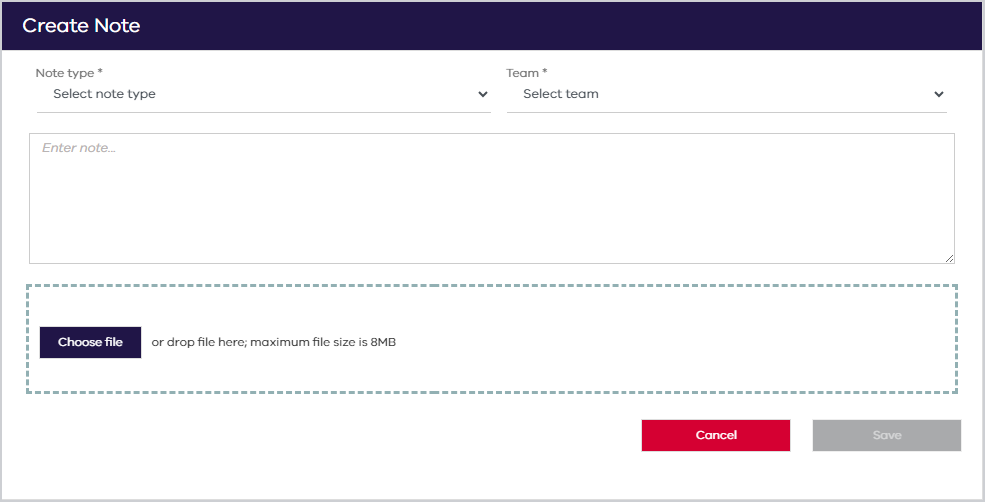
Click Add Note.
The Create Note popup displays.
-
Complete the note details.
-
Note type - (Mandatory)
-
Team - (Mandatory)
-
Note - Enter text for the note.
-
File attachment - Choose a file or use drag and drop. (8 MB maximum)
When all the mandatory fields have been completed, Save is enabled.
-
-
Save the note.
To delete a note, click the trash icon .
You can only delete a note if you created it. Super Regulators can delete any notes.

-
-
-
Click Save.
Move a Notification to a Different Patient Record
If a notification has been created for the wrong patient, you can move it to a different patient.
-
Access the notification.
-
Click the Move Notification button.
The Patient Search popup displays
-
Search for and select the patient that you want to move the notifications to.
-
Click OK.
The following Confirmation popup displays.
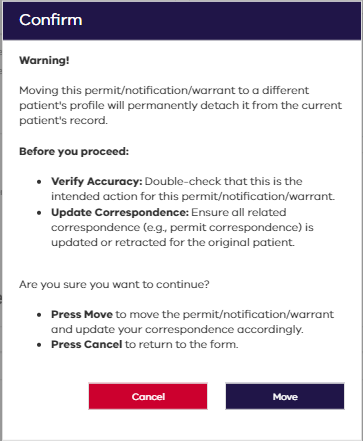
Before proceeding, make sure you have verified the accuracy and updated the correspondence.
-
If you need to make changes or are unsure, press Cancel to return to the form.
-
If you are certain that you want to proceed, click Move.
